IE1671 driving wheel shaft (see Figure 1) is a low-speed and high-torque shaft. It plays an important role in transmitting torque to drive wheel rotation in the vehicle transmission assembly and is a key and safety part of the vehicle. Due to the characteristics of induction heat treatment (local surface heating), this part is prone to overheating when induction heating is applied at the end of the spline and the sharp corner of the step, resulting in the coarser grain. Moreover, due to the special structure of the drive wheel shaft (R round corner hardening layer is required to be deeper than 7mm; Acuity 47 HRC hardness, the depth of hardening layer 3 ~ 16 mm there are five specifications, grain size and martensite content of 90% or higher level 5 or higher multiple technical requirements), at the same time ensure that the depth of hardening layer easy to overheating, lead to R the rounded part coarse grains, end on bolt hole is apart from the root of 0.6 mm to hardening, also easy to make the cold on cooling speed faster, the phase transformation stress, thermal stress is bigger, plus the hardenability and good material, so when quenching deformation and cracking tendency is bigger.
Figure 1 material is IE1671 drive wheel shaft diagram
To solve this problem, for this kind of drive axle of medium frequency induction hardening process was studied, through the electric induction quenching process optimization parameters, tooling and fixture design, and a series of experimental work, developed a set of suitable for the drive axle of production the best process, reduce the rejection rate, at the same time to achieve high quality, low cost, the low energy consumption of green manufacturing goals.
1. Technical requirements
Material and process: IE1671 is equivalent to 30CrMnMoB in China, and its chemical composition analysis is shown in Table 1.Hardness measurement and metallographic structure at different depths of sampling site and different locations are shown in FIG. 2 and FIG. 3 respectively.
Table 1 Chemical composition of drive wheel shaft (mass fraction) (%)
FIG. 2 Sampling position diagram of drive wheel shaft parts
Technical requirements: DB4.0.H1, H2, H3 ≥47HRC.Depth of hardening layer, H1 segment: 7 ~ 16mm;Section H2:7 ~ 12mm;Section H3:3 mm;Position A ≥7mm.
(a) Hardness measurement at different depths at position 1
(b) Hardness measurement at position 2 at different depths
(c) Hardness measurement at position 3 at different depths
(d) Hardness measurement at position 4 at different depths
(e) Standard metallographic structure at position 1 (100×)
(f) Standard metallographic structure at 7mm of position 1 (100×)
(g)Standard metallographic structure at position 2 (100×)
(h) Standard metallographic structure at 7mm of position 2 (100×)
(I) Standard metallographic structure at position 3 (100×)
(j) Standard metallographic structure at 7mm of position 3 (100×)
(k)Standard metallographic structure at position 4 (100×)
(l) Standard metallographic structure at 7mm of position 4 (100×)
(m)Standard metallographic structure at position 5 (100×)
(n)Standard metallographic structure at 7mm of position 5 (100×)
Figure 3
2. Induction quenching process parameters
A. Determination of the process plan
The inductor used is the ring inductor, whose structure is shown in Figure 4. The sensor diameter 178mm, the sensor with a water spray ring.
Figure 4: IE1671 drive wheel shaft if frequency induction quenching sensor
(1) Depth of the hardening layer
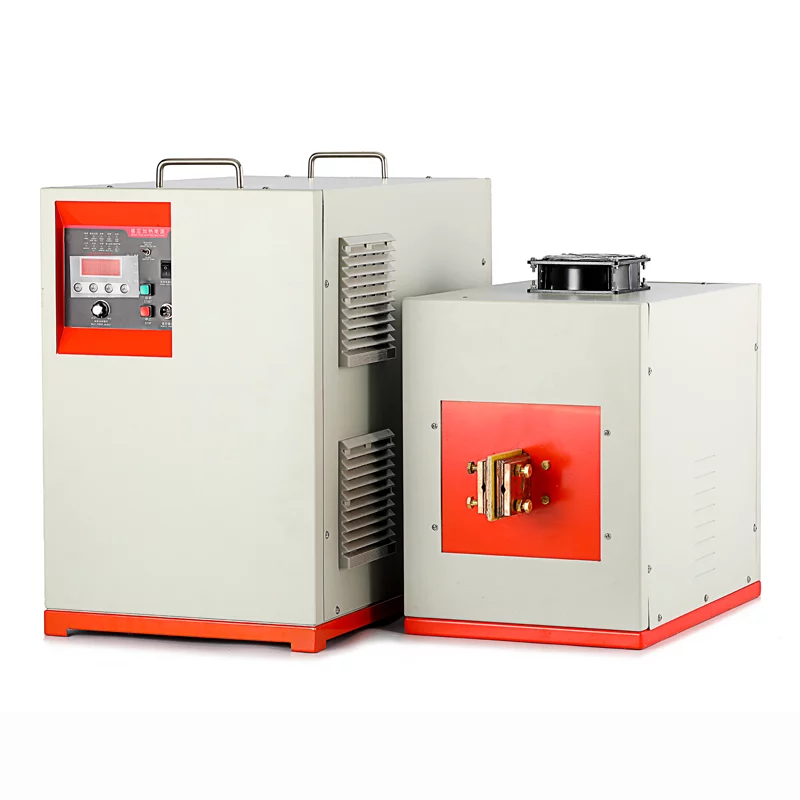
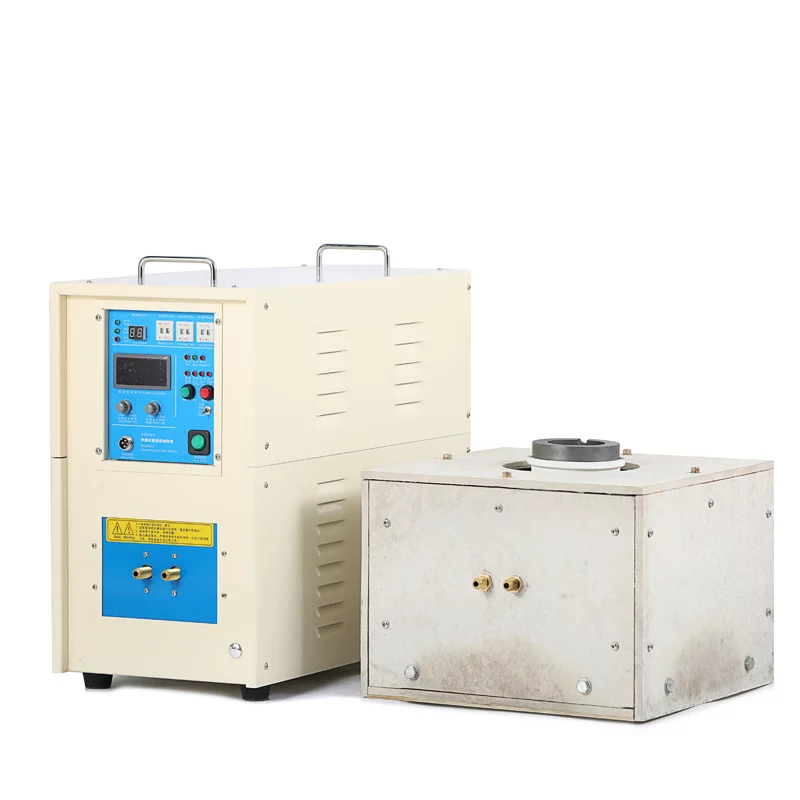
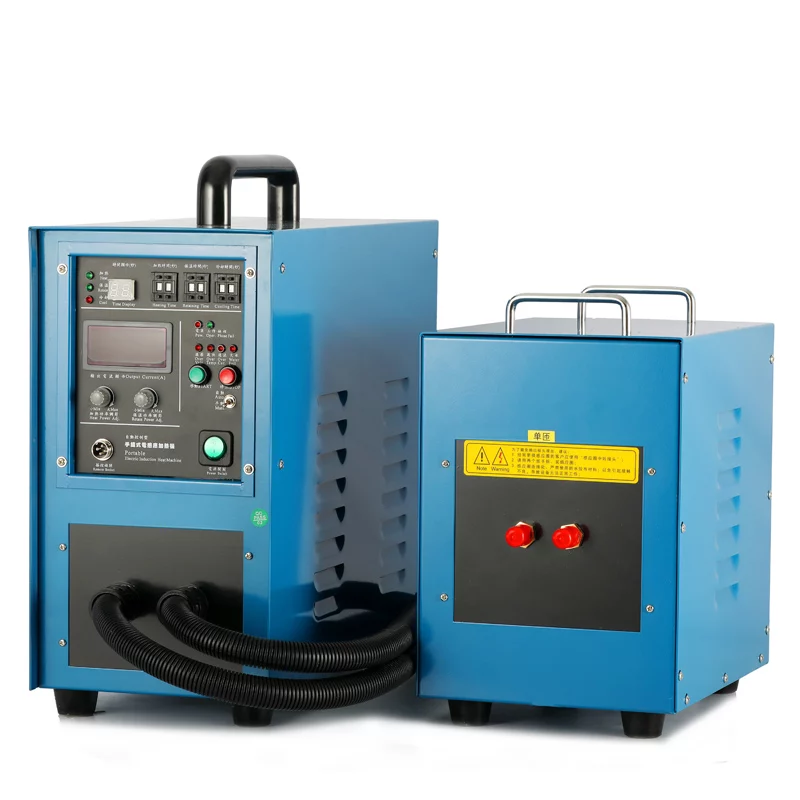
The depth of the hardening layer of the parts is related to the size of the power frequency, the moving speed of the parts, the healing power, the size of the sensor gap, and whether the sensor is preheated, etc. The intermediate frequency power equipment used in the intermediate frequency quenching of IE1671 driving wheel shaft is 8000Hz, 160kW. Medium frequency induction quenching workpiece hardening layer depth is generally in 2 ~ 4mm, so the use of medium frequency induction quenching the drive wheel shaft, to achieve the depth of 7 ~ 16mm hardening layer, with the traditional quenching process is very difficult. Therefore, the quenching process can only be considered to solve the equipment and parts themselves can not solve the problem.
(2) Moving speed of parts
Under other conditions unchanged, the moving speed of the part is inversely proportional to the depth of the hardening layer, that is, the faster the moving speed of the part, the shallower the depth of the hardening layer; The slower the moving speed is, the deeper the hardening layer is. For this parts, if the medium frequency induction quenching parts should slow movement speed, movement speed too slow, but parts can cause parts quenching temperature is too high, parts quenching organization is bulky, spline easy quenching crack problem, the reason should be through the test, debug a suitable parts movement speed, to meet the 7 ~ 16 mm hardening layer depth of the technical requirements.
(3) Heating power
Under other conditions unchanged, the greater the heating power of the part, the deeper the hardening layer depth; On the contrary, the smaller the heating power of the part (under the premise that the part can reach the quenching temperature), the shallower the hardening layer depth.
(4) The size of the sensor gap
The larger the sensor clearance is, the slower the heating speed is, and the longer the time for the part to reach phase transition temperature, thus the deeper the hardening layer is. On the contrary, the depth of the hardening layer is shallower.
(5) Others
The heating of the parts is obtained by the heat transfer from the surface to the center when quenching, while the intermediate frequency induction quenching is obtained by the heat transfer from the secondary surface to the outer surface when quenching. If the first preheating and then the implementation of continuous heating quenching, this can make the parts through burning time to extend, the hardening layer will be deeper, and the surface temperature will not be too high.
B. Determination of electrical parameters
(1) Transformer ratio
According to the structure and practical experience of the inductor, 20:1 was selected after the process optimization test.
(2) Electrical parameters
After the process optimization test, the power supply voltage: U=500 ~ 600V;Current: I=100 ~ 120A;Capacitance C is set in gear 1, 3 and 6 (from left);Power factor: cos Ф = 1.Power size: P spline set 60kW;P optical axis is 65kW;Power meter index: 9:40.Water pressure: Meter reading is 10 bars.Base (zero) : -534 (80kW).
(3) Quenching method
Choose continuous heating quenching, spray cooling quenching way.1% polyvinyl alcohol was used as a quenching medium.
(4) After optimization of the driving wheel shaft, the process programming is as follows (the test programming number is 1001, the details are as follows) :
N10 S7
N20 G0 X-86
N30 S2
N40 G4 F3.2
N50 G1 X-152 F300
N60 G1 X-196 F400
N70 G1 X-293 F300
N80 G1 X-485 F400
N90 G4 F0.7
N100 G1 X-534 F500
N110 S2
N120 G4 F19
N130 S4
N140 G4 F16
N150 S2
N160 G4 F19
N170 S4
N180 G4 F16
N190 S2
N200 G4 F24
N210 G1 X-479 F400
N220 G4 F1
N230 G1 X-472 F185
N240 S5
N250 G1 X-337 F185
N260 G4 F0.5
N270 G1 X-293 F185
N280 G4 F1.5
N290 G1 X-152 F185
N300 G4 F2
N310 G1 X-128 F270
N320 G1 X-86 F250
N330 G4 F1.2
N340 S4
N350 G1 X-50 F500
N360 G4 F13
N370 G1 X-80 F500
N380 G4 F28
N390 S6
N400 S8
N410 G0 X0
N420 M2
3. Metallographic structure detection after quenching
After quenching the parts by magnetic powder nondestructive testing, no defects were found. The detection results of the hardening layer depth of the hardened parts are shown in Table 2 and Figure 5.
Table 2 Driveshaft hardening layer depth
(a) Position 1
(b) Position 2
(c) Position 3
(d) Position 4
Figure 5
The hardness test results of the hardened parts are shown in Table 3.
Table 3 Hardness value of driving wheel shaft:
After quenching, the metallographic structure of the parts is shown in Table 4 and Figure 6.
Table 4 Metallographic structure of the quenched parts of the drive wheel shaft:
(a) Actual metallographic structure at position 1
(b) actual metallographic structure at 7mm of position 1
(c) Actual metallographic structure at position 2
(d) actual metallographic structure at 7mm of position 2
(e) Actual metallographic structure at position 3
(f) actual metallographic structure at 7mm of position 3
(g) Actual metallographic structure at position 4
(h) actual metallographic structure at 7mm of position 4
(I) Actual metallographic structure at position 5
(j) actual metallographic structure at 7mm of position 5
Figure 6.
4. Conclusion
(1) 85 pieces of induction quenching pieces of 425 pieces of drive wheel shaft parts were randomly sampled, and the quenching hardness was measured as 51 ~ 54 HRC; The hardened layer depth is 3 ~ 16mm (5 parts range requirements), grain size ≥5 grade, martensite content ≥90%, in line with the product drawing for the heat treatment of parts technical requirements.
(2) the success of quenching process, equipment and complete sets of quenching device, can be applied in the similar driving axle of medium frequency induction hardening, and programming, convenient and practical operation, the quenching process is simple, reliable, once the process, the quenching process has reliable reproducibility, can ensure the quenching results and the stability of quenching quality, at the same time, the expanding application of induction equipment has gained further improvement.
(3) Through the research on the induction quenching process of the driving wheel shaft, it is found that when the material is foreign brand IE1671 (equivalent to 30CrMnMoB), the hardenability is strong when wCr =0.5%, which directly affects the depth of the hardening layer, namely, the hardenability is proportional to the depth of the hardening layer; Under the condition of the same material with the same layer depth, the short heating and cooling clearance time will cause the hardness to be too high and the structure to be thick. According to the chemical composition test, the wC of this sample is 0.31%. According to the deviation of carbon content in different batches of the carter drive shaft of 3309 and 3310 in this project, the quenching hardness is directly affected, that is, the carbon content in the same state and process is proportional to the hardness.
(4) The research results can be attributed to the field of induction quenching has been a breakthrough in the experimental work. In the process of heat treatment production, the quenching machine tool is more and more widely used, which enables us to produce high-quality parts that meet the requirements of environmental protection and safety under more efficient and accurate quality control.


